Call us Toll Free
Get a free quote

Call Us Toll Free

Get a free quote
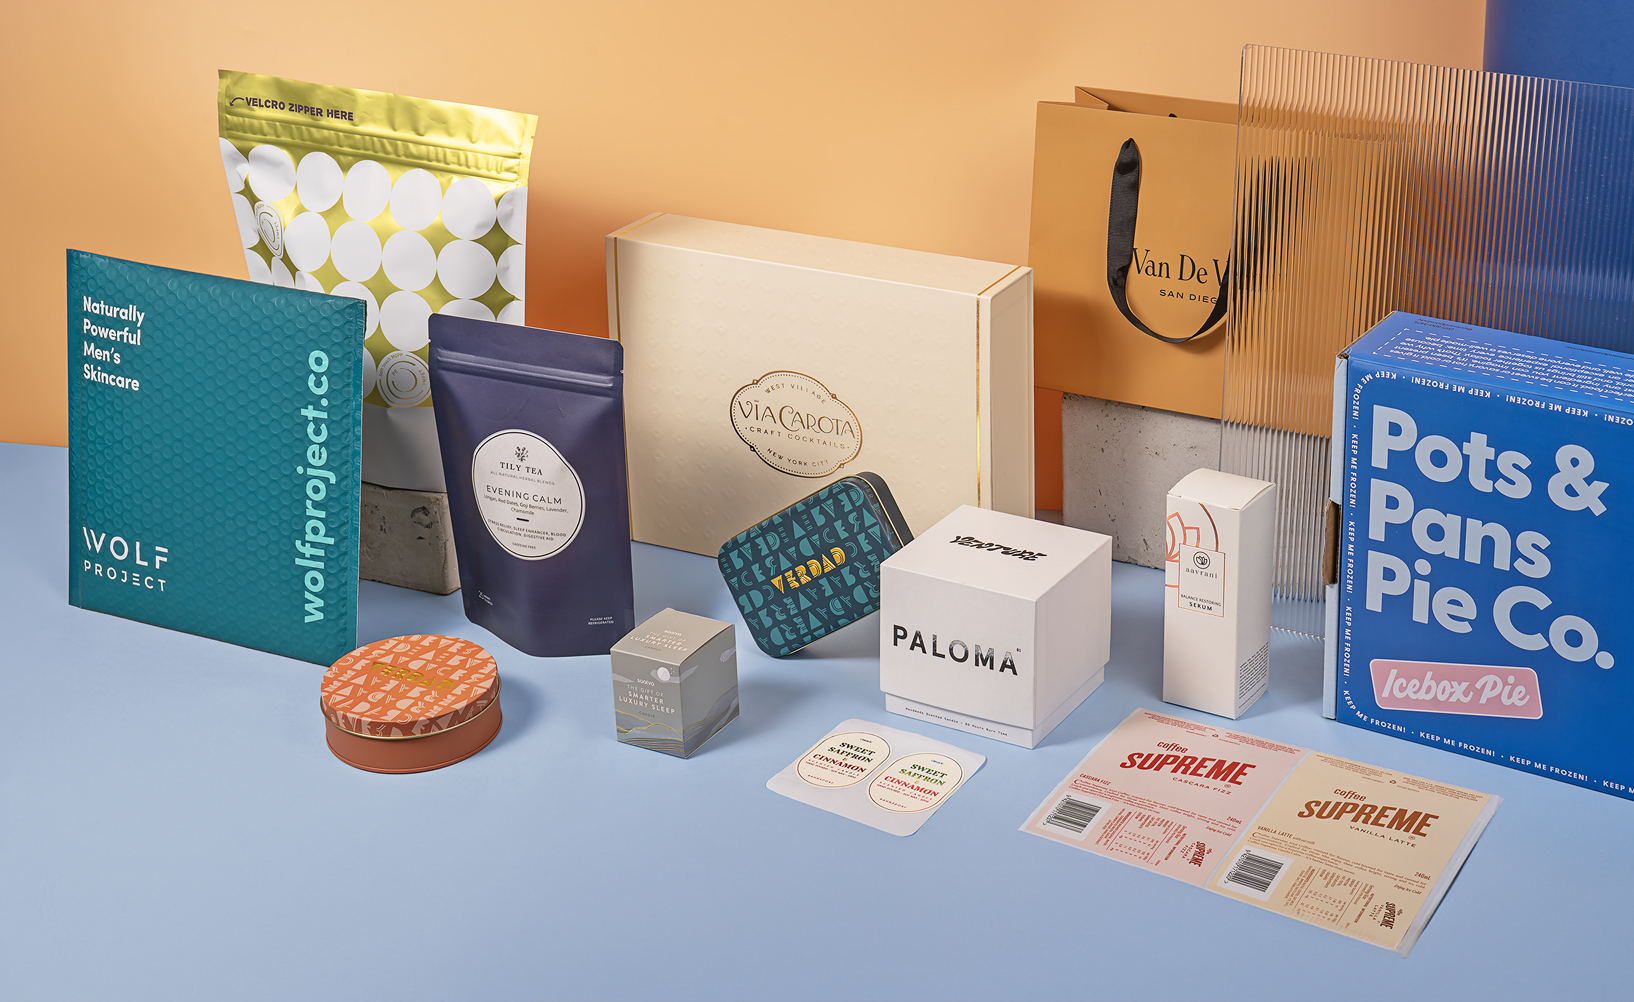
Custom printed boxes are only as good as the artwork you supply. Whether you're a designer or a brand owner, understanding how to prep your design for print is key to getting crisp, professional results. Here’s a step-by-step guide to help you get it right the first time.
1. Use the Correct Die Line Template
Your packaging printer will provide a die line (or dieline)—a flat outline of your box’s dimensions, folds, and cut lines. Always design within this template to ensure accuracy.
2. Set Up in CMYK Color Mode
Printers use CMYK (Cyan, Magenta, Yellow, and Black) inks, not RGB. Designing in CMYK ensures that what you see on screen is closer to what you’ll see in print.
3. Keep Fonts Outlined
Convert all fonts to outlines or shapes before sending the file. This prevents any issues with missing fonts on the printer's side.
4. Use High-Resolution Images
All raster graphics (like photos or textures) should be at least 300 DPI at actual size. Anything lower might appear pixelated or blurry.
6. Mind the Bleed & Safety Zones
Extend your background or design elements at least 1/8" (3mm) beyond the cut line (bleed), and keep important text and logos inside the safety zone to avoid being trimmed off.
Choose the Right File FormatMost printers prefer vector formats like PDF, AI, or EPS. Avoid JPEGs unless you’re including high-res image elements.


.jpg)